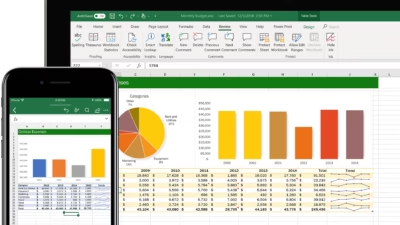
Creating a spreadsheet in Excel is easy—and it’s one of the most powerful ways to organize and work with data. Whether you’re making a budget, task list, attendance tracker, or inventory sheet, Excel gives you flexibility and control.
Here’s a simple guide to get started.
1. Open Excel and Start a New Workbook
- Open Excel
- Click Blank Workbook
- A new worksheet will appear (usually named “Sheet1”)
- You can rename it by double-clicking the sheet tab at the bottom (e.g., “Budget 2025”)
2. Plan Your Layout
Decide what kind of data you want to track. Think about:
- What columns you’ll need (e.g., Date, Item, Category, Amount)
- What each row will represent (e.g., individual entries or days)
Use the first row for headers (column titles). Example:
| Date | Item | Category | Amount |
|---|---|---|---|
| 2025-06-01 | Groceries | Food | $45.00 |
| 2025-06-02 | Electricity | Utilities | $90.00 |
3. Enter Your Data
Click on each cell and type in your values. Press Tab to move right or Enter to move down.
Keep your data consistent—don’t mix text and numbers in the same column.
4. Format the Spreadsheet
Make it readable and professional:
- Bold your headers
- Use borders to create visual separation
- Adjust column width by dragging the edge of the column letter
- Use number formatting for currency, percentages, or dates
- Use cell shading (colors) to group similar rows or columns
All formatting options are available in the Home tab.
5. Add Formulas (Optional but Powerful)
Use Excel’s formulas to calculate totals or analyze data.
Examples:
=SUM(D2:D10)– adds values in column D=AVERAGE(D2:D10)– gets the average=IF(C2="Food", "✓", "")– simple logic
Formulas always begin with =
6. Use Filters or Sorting (Optional)
To sort or filter your data:
- Select your header row
- Go to the Data tab
- Click Filter
- You can now sort by date, number, or search within a column
7. Save Your Spreadsheet
- Click File > Save As
- Choose where to save the file
- Enter a name (e.g., “June Expenses”)
- Save as
.xlsxfor regular use, or.csvfor basic data without formatting
Tips
- Use Ctrl + S often to save as you go
- Use Freeze Panes in the View tab to keep headers visible
- Explore templates for common spreadsheets (File > New > Search for templates)