Microsoft Excel is a spreadsheet program that helps you organize, calculate, analyze, and visualize data. Whether you’re tracking expenses, managing lists, or analyzing statistics, Excel is one of the most versatile tools available.
Here’s how to get started using Excel step by step.
1. Understand the Basics
When you open Excel, you’ll see a blank worksheet made of cells, organized in rows (numbers) and columns (letters). Each cell can hold text, numbers, or formulas.
Key terms to know:
- Workbook: The entire Excel file
- Worksheet: A single tab inside the workbook
- Cell: A box where you enter data (e.g., A1)
- Formula Bar: Where you write formulas or see cell content
- Ribbon: The toolbar at the top with tabs like Home, Insert, and Data
2. Enter and Format Data
To enter data:
- Click a cell
- Type your text or number
- Press Enter to move down or Tab to move right
To format your data:
- Select the cells
- Use options in the Home tab to change font, color, alignment, or number format (like currency or date)
3. Use Basic Formulas
Formulas are what make Excel powerful. Start a formula with =
Examples:
=A1 + B1adds two cells=SUM(A1:A5)adds a range of cells=AVERAGE(B1:B10)calculates the average=IF(A1>100, "High", "Low")shows conditional logic
Click a cell, type your formula, and press Enter to calculate.
4. Sort and Filter Data
You can quickly organize your data:
- Select your data table
- Go to the Data tab
- Click Sort to arrange alphabetically or by value
- Click Filter to show only rows that meet certain conditions
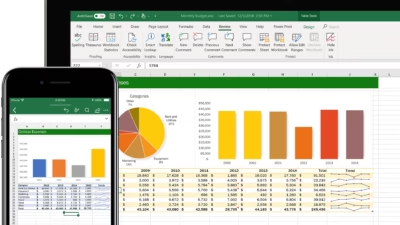
5. Create Charts
Excel lets you visualize your data with charts.
Steps:
- Select your data (including labels)
- Go to the Insert tab
- Choose a chart type: Column, Pie, Line, etc.
- Excel will create a chart, which you can move and customize
6. Use Templates
Templates save time and come with built-in formatting and formulas. You can find templates for:
- Budgets
- Calendars
- Invoices
- Schedules
To use a template:
- Open Excel
- Click New
- Search for a template or pick one from the list
7. Save and Share Your Workbook
- Click File > Save As
- Choose a location and file name
- Save to your computer or OneDrive to access it anywhere
- Share the file by email or using Share if saved to the cloud
Final Tips
- Use Ctrl + Z to undo
- Press Ctrl + S often to save
- Explore Help in the top-right corner if you’re stuck
- Practice with your own data (like a household budget or task tracker)